This great tutorial is courtesy to Out Of Order – Meghans style diary, budget finds, fashion fantasies, sewing projects, makings & vintage treasures website.
Meghan explains basic techniques to make your own one-of-a-kind full, fun, twirly skirts.You can also visit Megan’s Out Of Order Vintage shop on Etsy
What you’ll need:
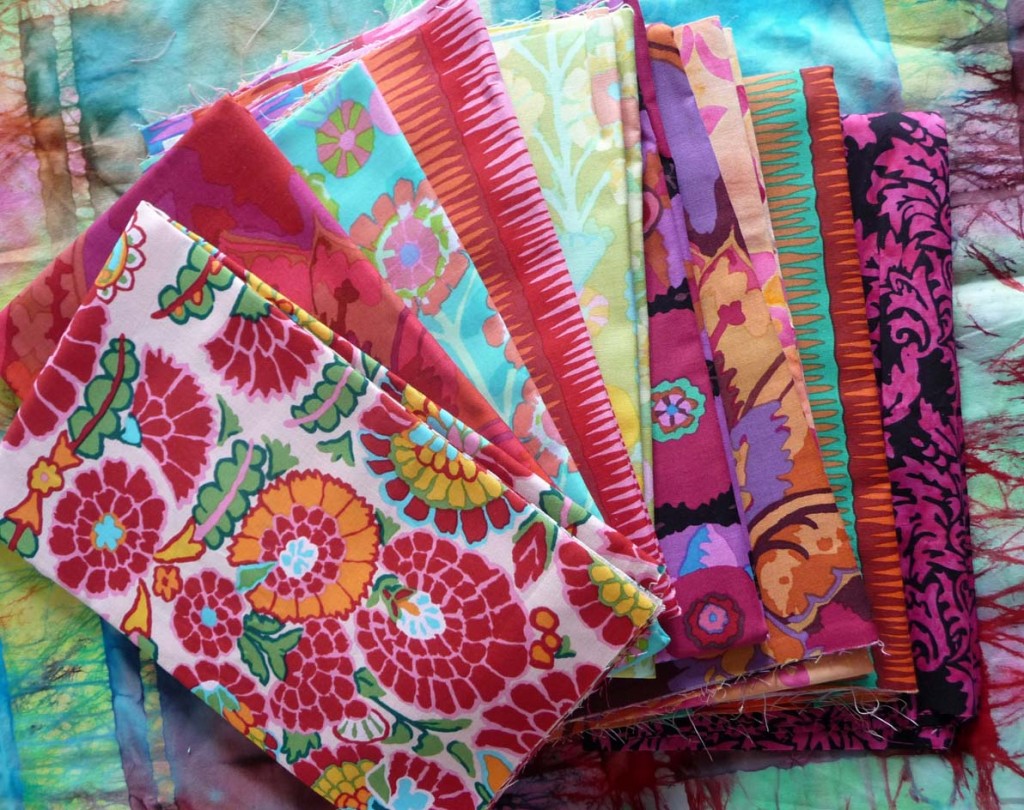
– 1 yard* fabric, pre-washed
– 2/3 yard** 1
½” to 3″ wide elastic– measuring tape or ruler, scissors, sewing machine, thread

*In order to made a fuller, gathered skirt, the entire width of the fabric will be used, so we’ll need twice as much fabric as the Basic Skirt Tutorial. Measure the desired length of your skirt from your waist down, double the number, and buy that amount of fabric. Since I’m short and wanted a short skirt, using one yard of fabric (a yard is 36 inches) means that my skirt will be half that length, 18 inches. Most fabric stores stock 45 inch wide cotton fabrics in an array of colors and prints. (Remember to account for seams and fabric shrinkage; don’t cut it too close.) Using t-shirt knit or jersey fabric will give a softer, looser, more clingy skirt.
**The elastic gathers the fabric and serves as the waistband. Measure around the smallest part of your waist, subtract 1″ and buy that amount of wide elastic. A wider elastic will look more dramatic but will be less stretchy.
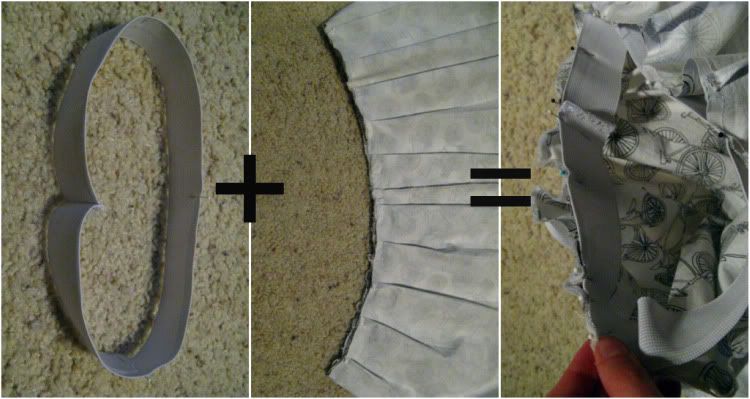
Fold the fabric so the raw edges are matched up. Cut your piece of fabric in half, creating two equal rectangles. The longer sides will be the top and bottom edges of the skirt; the shorter sides will become the side seams.
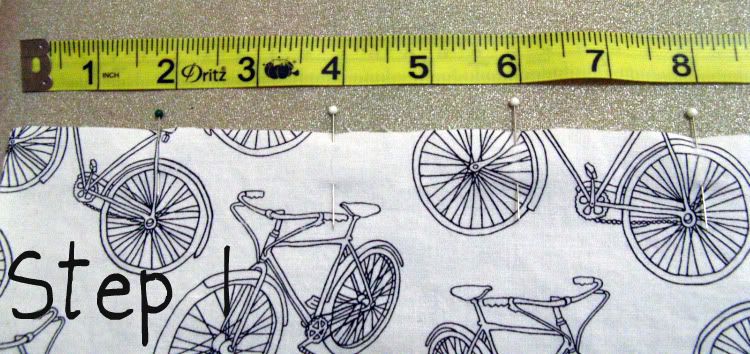
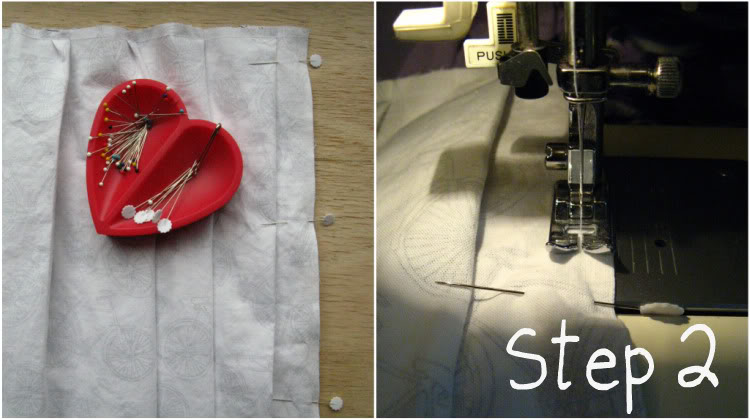
Measure and pin every 2 inches across the entire top edge of one piece of fabric. You can also mark these points off with dressmaker’s chalk. You don’t need to worry about the last few inches. Now let’s start pleating!
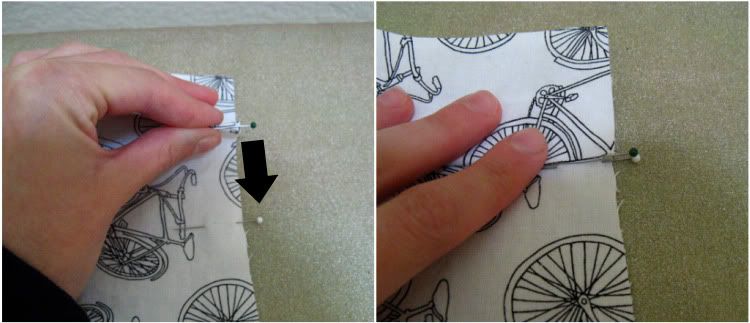
Starting at the upper left hand corner, create a vertical fold at the first pin with your fingers. You can press this fold in place with an iron if you feel so inclined. Bring the folded edge to meet the next pin, as shown. Holding the fabric in place, remove those two pins and pin the folded fabric to create the first pleat.

Repeat the pattern by bringing the next pin in the row to meet the one after it, and re-pin. Continue until all the available fabric is pleated. I like to sew a quick seam along this edge, to hold the pleats in place so you can continue working without all the pins.

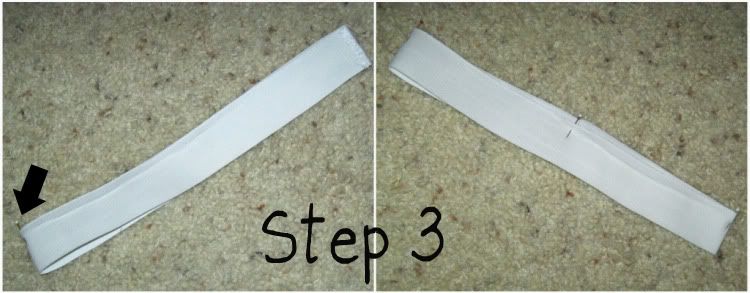
While you’re at it the machine, sew the two ends of the elastic together as well:
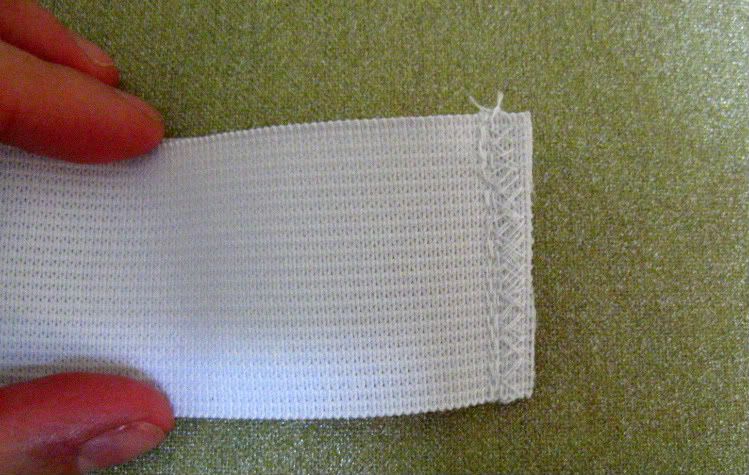 I go over this seam a few times and add a zig-zag stitch along the ends for added strength and to keep if from unraveling.
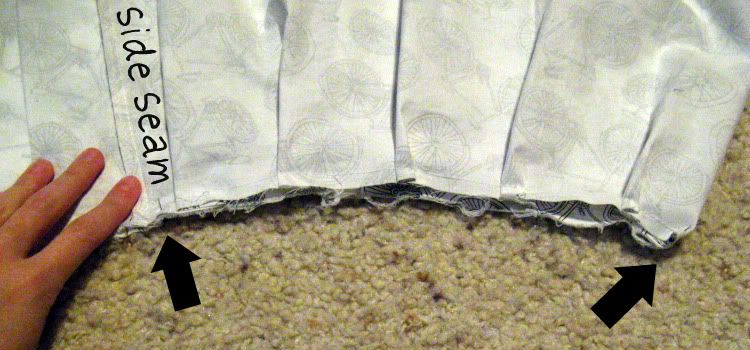
You’ll probably find that the pleats don’t work out to the exact edge of the fabric. This is fine. You can see in the picture below that the last three inches of fabric left over isn’t enough to form another complete pleat. You’ll need your elastic loop to figure out how to trim the pleated fabric to fit.
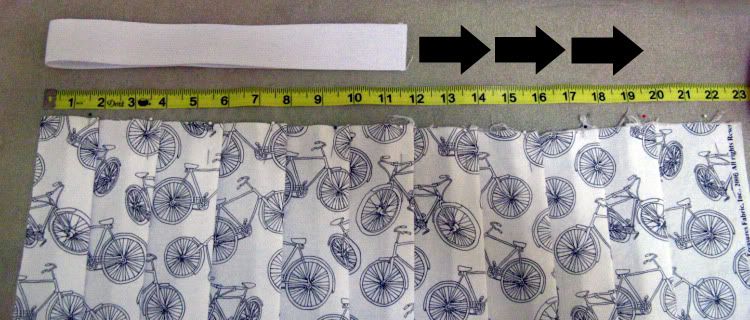
See how far you can stretch the elastic waistband. You might need to stretch the elastic a few times before it will go as far as possible. Mine is 12 inches unstretched, and 20 inches when stretched fully. Now, you need to trim the width of the fabric so it can be joined to the elastic later. Including another inch for seams, I need to trim my fabric to 21 inches:

Repeat these steps to pleat and trim the second piece of fabric.
Now that your fabric pieces are pleated and trimmed to size, pin the sides together and sew! Make sure the “right” sides of the fabric (the printed or prettier sides) are touching each other, and the pleats are running from top to bottom.
Next, it’s time to mark the center front, center back, and side points on the elastic. The seam will be the center back. The point directly opposite will be the center front. If you then bring those two points together, you can mark the sides.
Do the same with the waist of the skirt, using the side seams as the first reference points:
You’ll use these points to pin the elastic to the skirt at the right places. Decide which point will be the center back of the skirt and start there, pinning the seamed point of the elastic to the fabric. Continue to pin the front of the skirt to the front of the elastic, and the sides as well. Make sure you put the “right” side of the elastic to the right side of the fabric. If you use the picture below as a guide, the outside of the elastic will be pinned to the inside of the skirt.
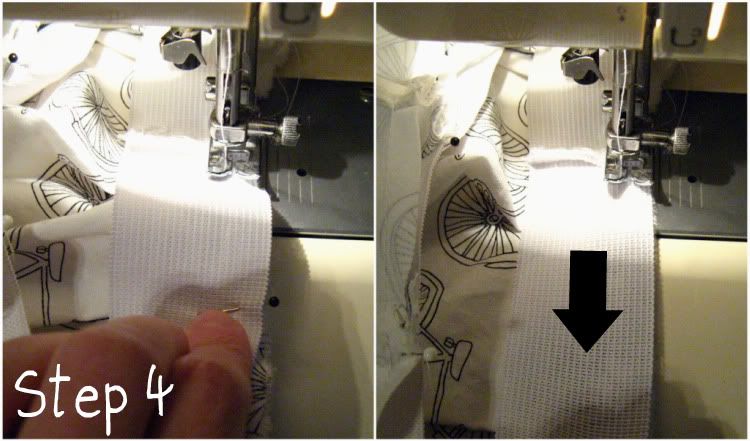 Time to sew! After you anchor the thread with a good back-stitch, stop and grasp the elastic with two hands: one behind the machine and one in front. You are going to pull the elastic taut to its limit, and then sew it in this position to the fabric beneath it. You’ll have to work in short sections in order to stretch the elastic to the fullest extent while moving it along with the machine. It may seem scary at first, but go slowly and it’ll work out!
Now you’re almost finished. You’ve joined the waistband to the skirt and created a full, gathered shape.

Now try on your masterpiece! See if you’d like to make it a lot shorter and get ready to hem the bottom.
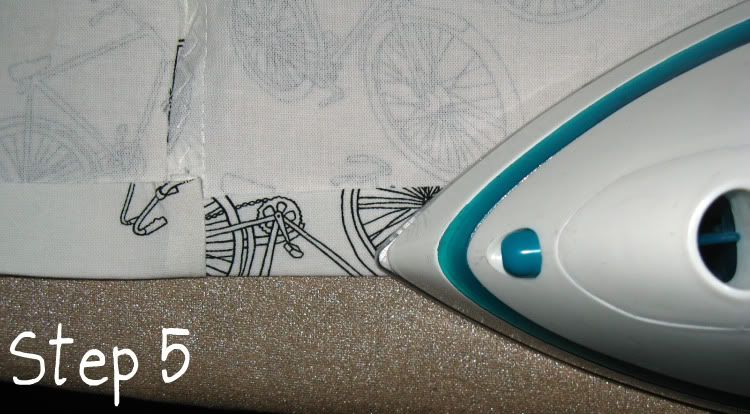
Fold under the bottom edge 1 inch or more. I like the use an iron to create a clean fold at the bottom edge before sewing the hem. For an even nicer finish, or if you’re using a fabric that unravels quickly, fold the fabric over again so no raw edges are visible.
Here’s my finished skirt:
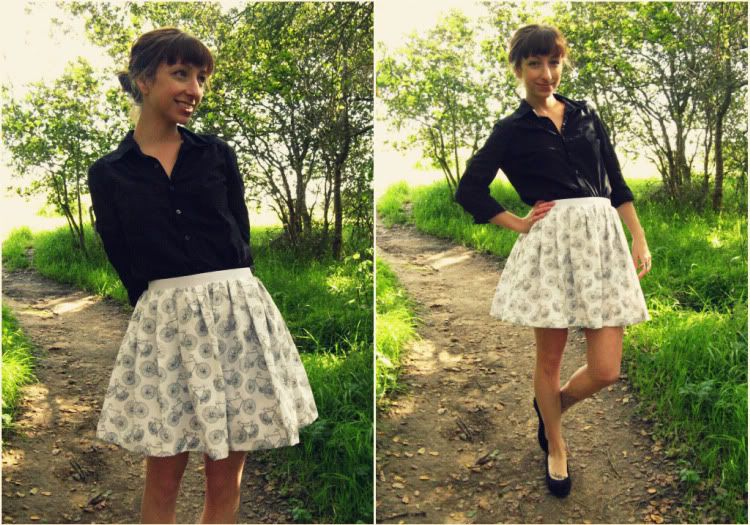
Time: 1 1/2 hours
Materials: $14
Now you have some basic techniques to make your own one-of-a-kind full, fun, twirly skirts! We would love to know if you tried this skirt tutorial!